Hopefully the following text and photos will help anyone trying to remove the Rear Bumper on the E84 (X1) to fit a Tow Bar or just replace a damaged bumper.
Also before you start check out this video which covers all the main points and I wish I had found this before I started !!
http://torkliftcentral.com/rving-and...ohitch-stealth
First we removed the rear lights to give access to the plastic clips at the top corners of the bumper. The lights are held in place with three 8mm Nuts - Don't drop them or they disappear inside the body !!
Then we removed the plastic rivets holding the wheel trim in place as well as all the bolts / clips along the bottom edge of the bumper and removed the mud flaps.

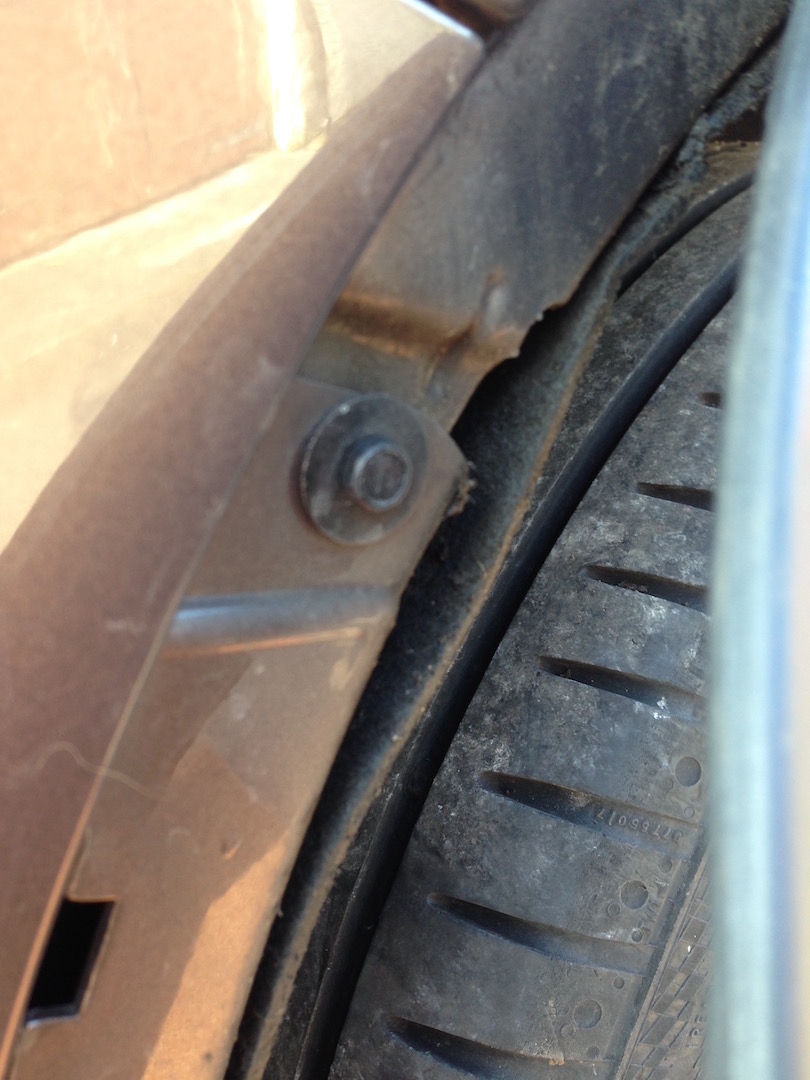
Carefully pull out the wheel trim to the side to expose the bolt that is nicely hidden underneath !! One lug at the bottom and two clips along the edge. This is quite stiff to pull and you might find that a trim removing tool is helpful to release the clips.

And here is the screw that needs to be removed on both sides to release the bumper.
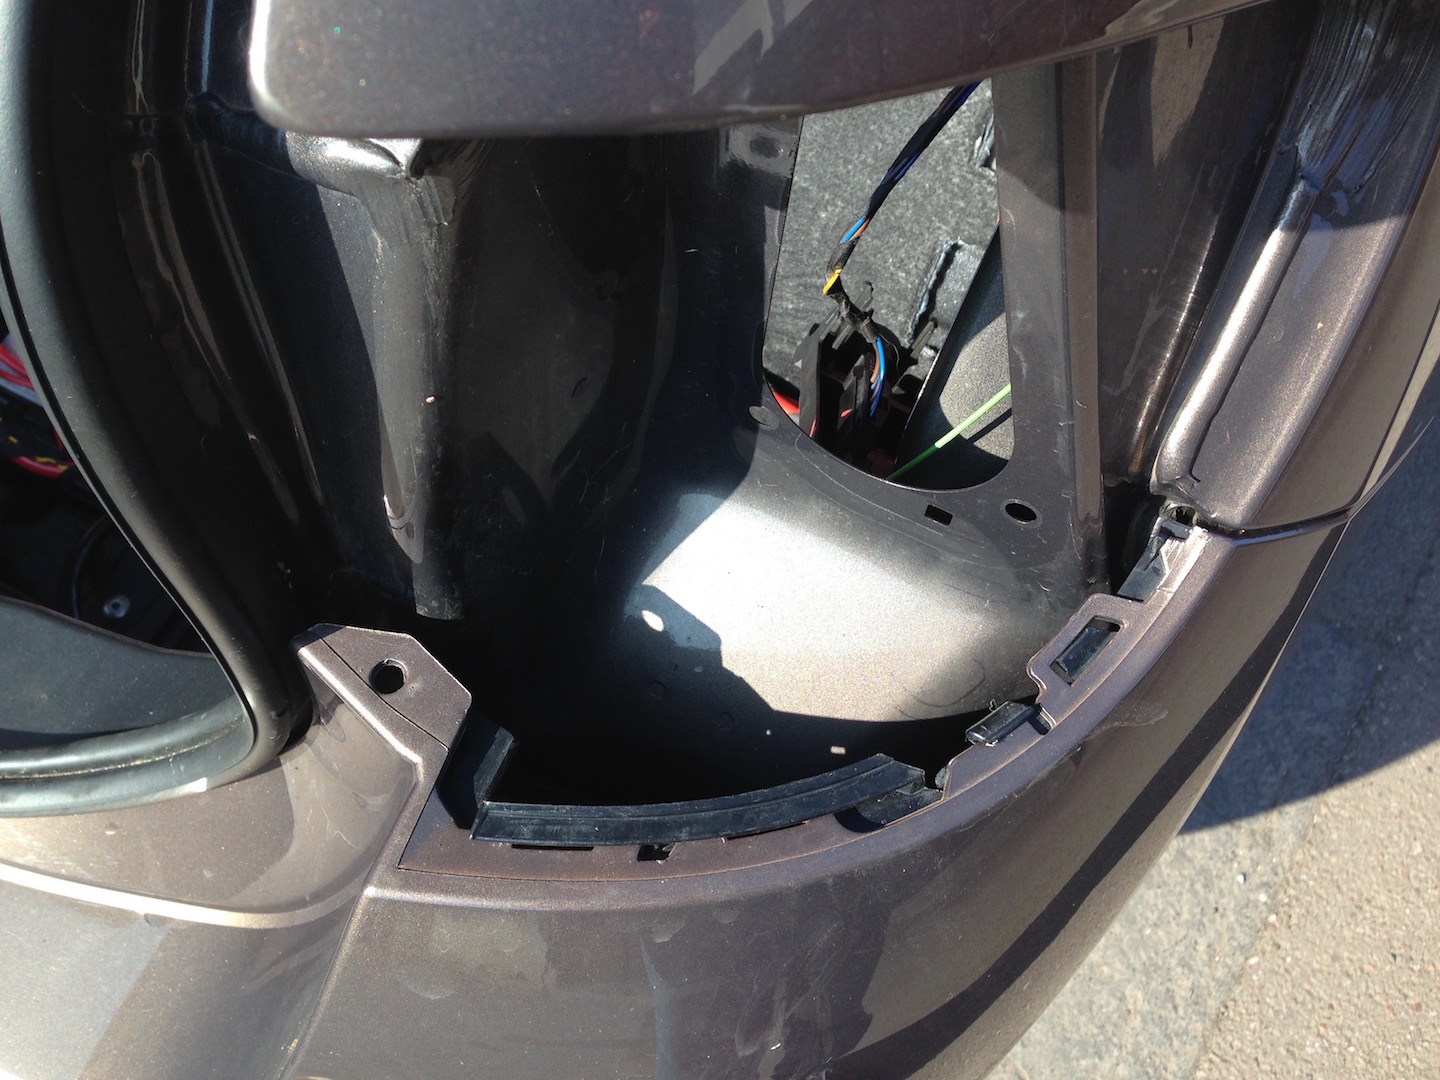
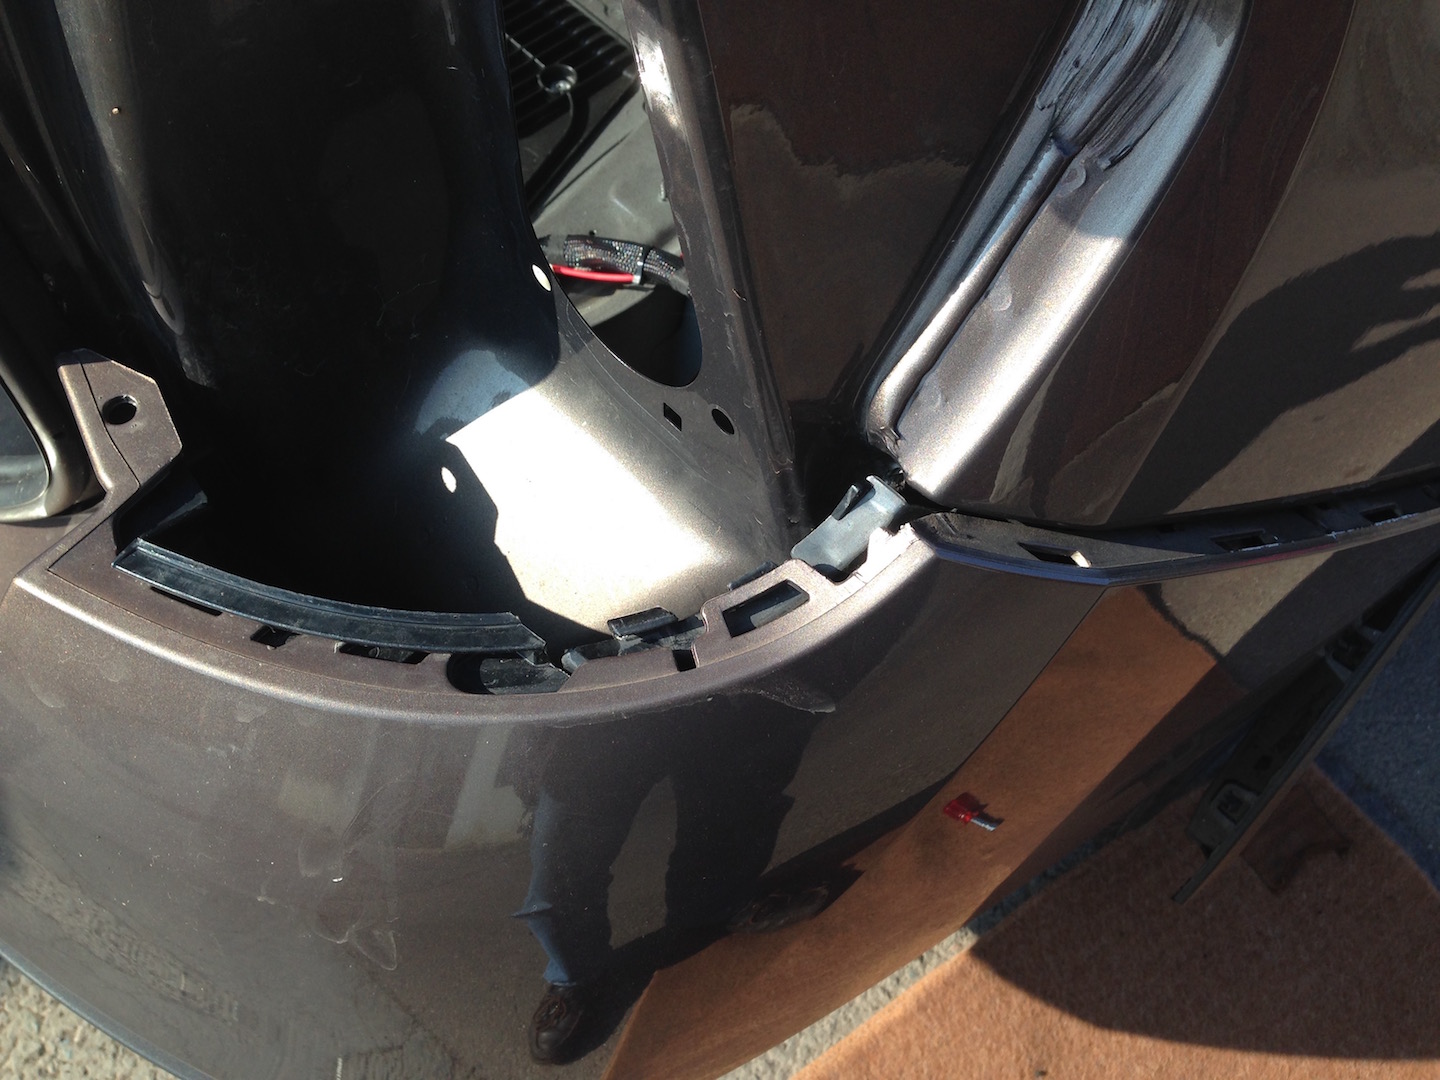
Now carefully pull the top edge out to release it. Came out easier than I was expecting.
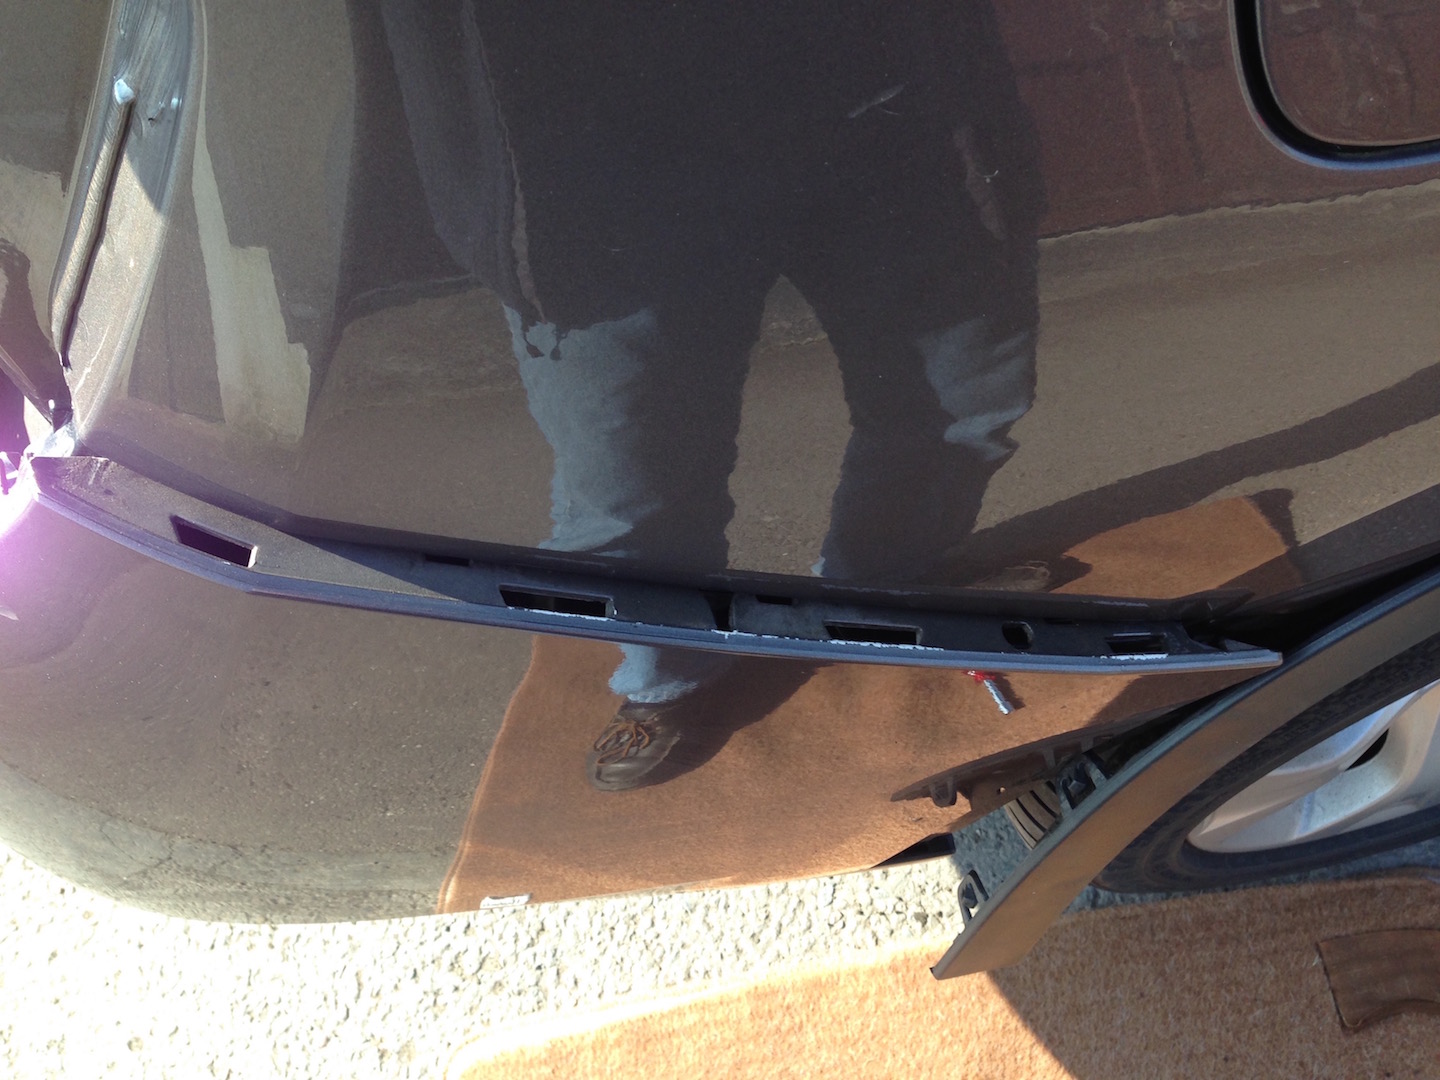
Once the edges are free you can then carefully free the clips on the corners under the rear lights. A trim removing tool is almost mandatory to get these clips undone without damaging them. The bumper will now pull off away from the car. Don't drop it !! Two people would be useful !! I put a cardboard box under the bumper so it did not drop to the ground. If you have reversing sensors, don't forget to unplug the wiring from the sensors as you pull the bumper away from the car.
And it's off !! Note that you should retain the old gasket (white bits) to protect the paint on the body when fitting the Tow Bar. This is with the Crush Bar already removed.

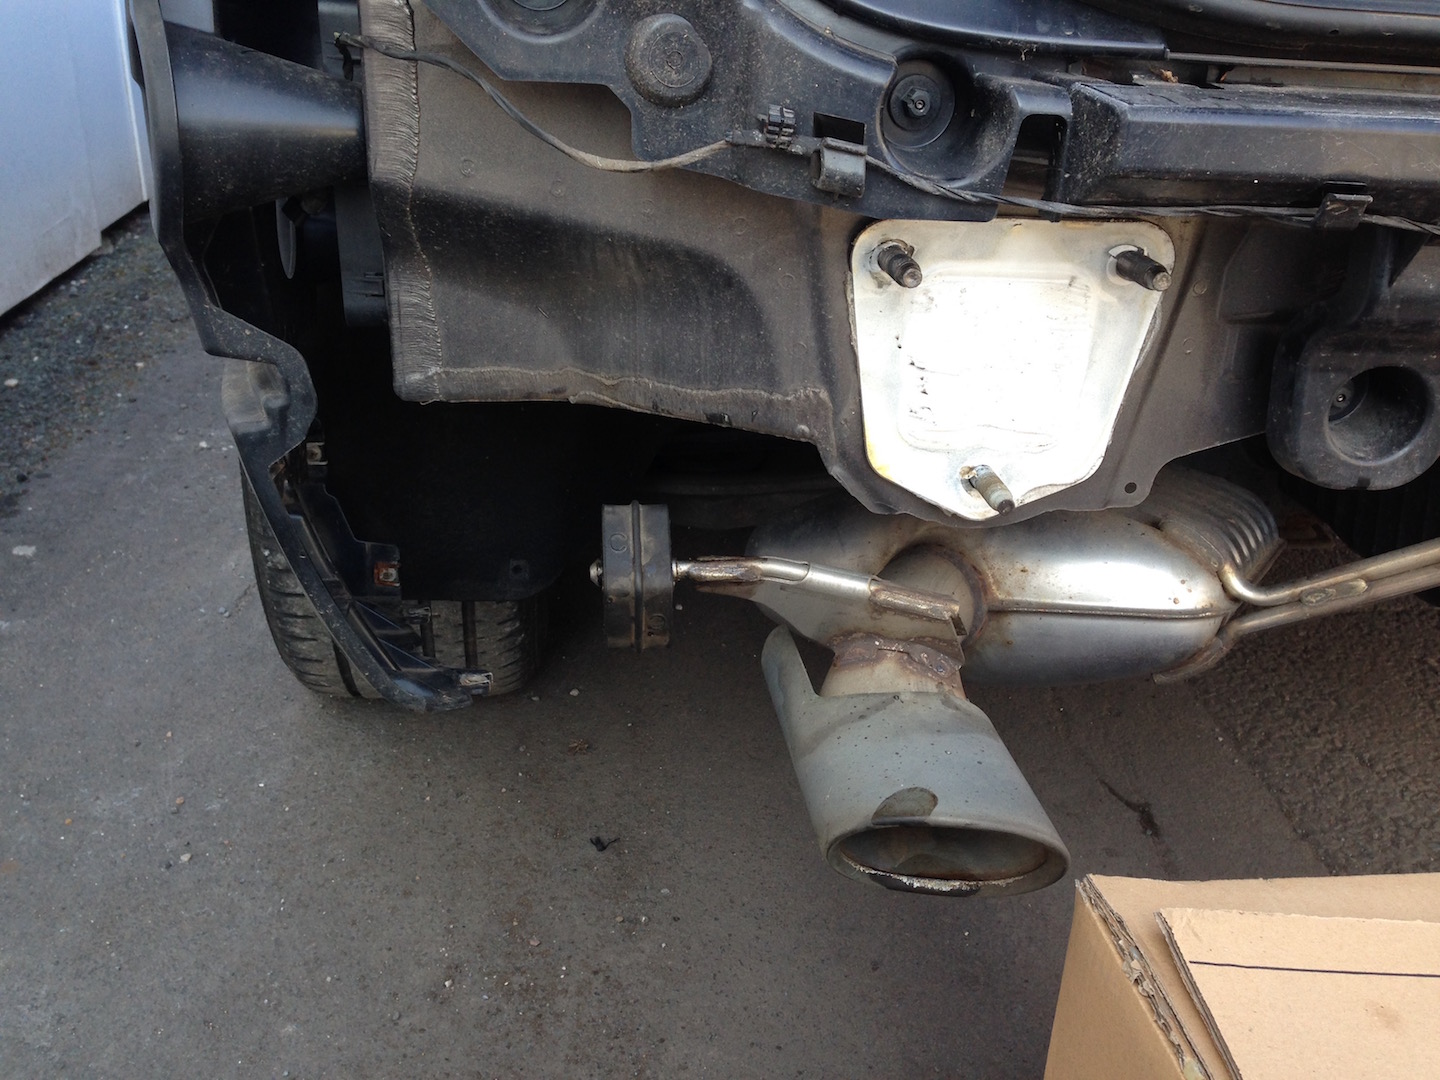
Next challenge is to release the exhaust rubber. Stick a small screwdriver down the side of the pins and squirt WD40 into the hole to lubricate the rubber. It should then come off without too much trouble !! Obviously you need to do this before you can remove the old Crush Bar !!
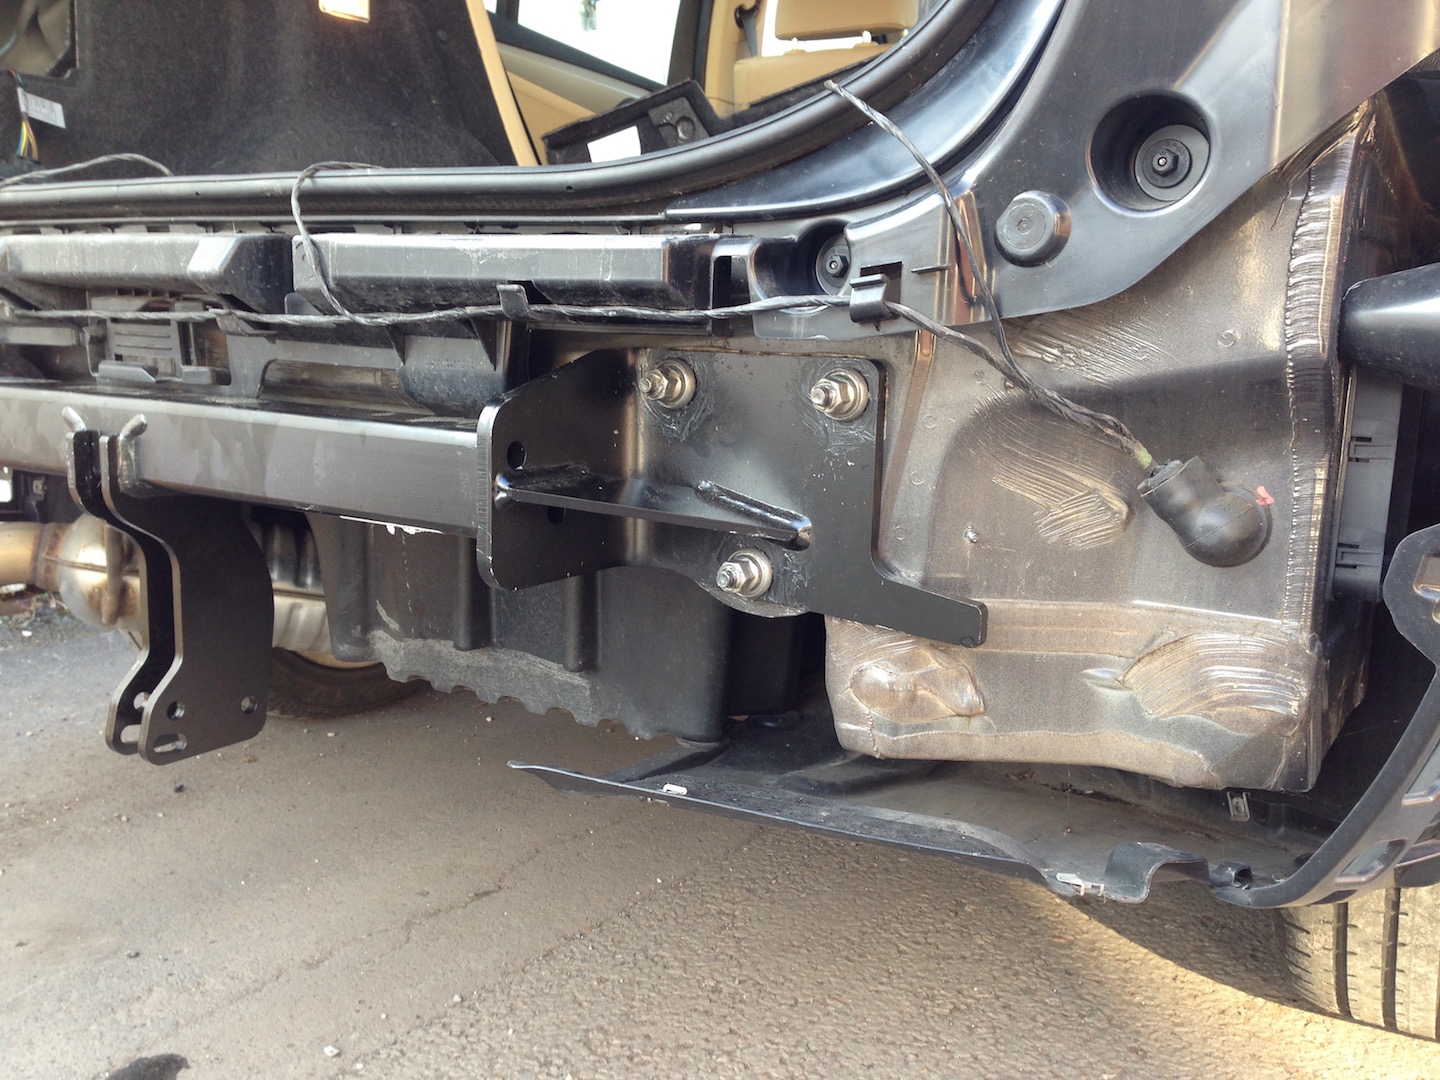
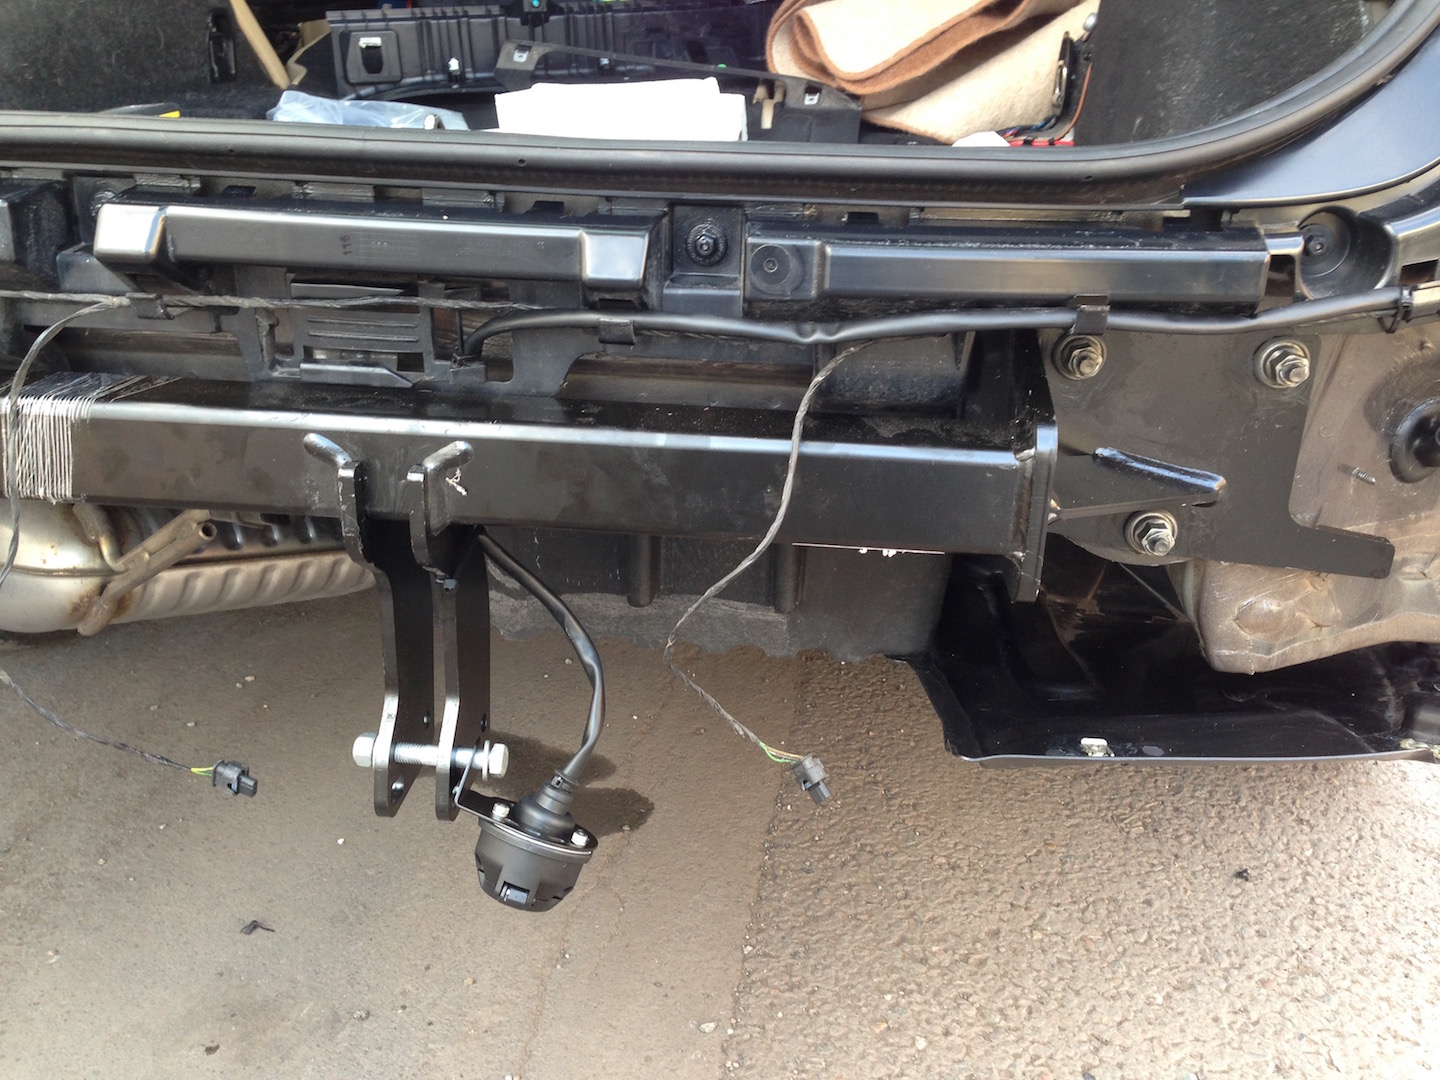
New Tow Bar in place. The Westfalia Tow Bar requires the removal of the Crush Bar and this is not re-used as is the case with some models. Make sure you Torque these nuts up to the right setting. 108 Nm or 80 Ft pounds.

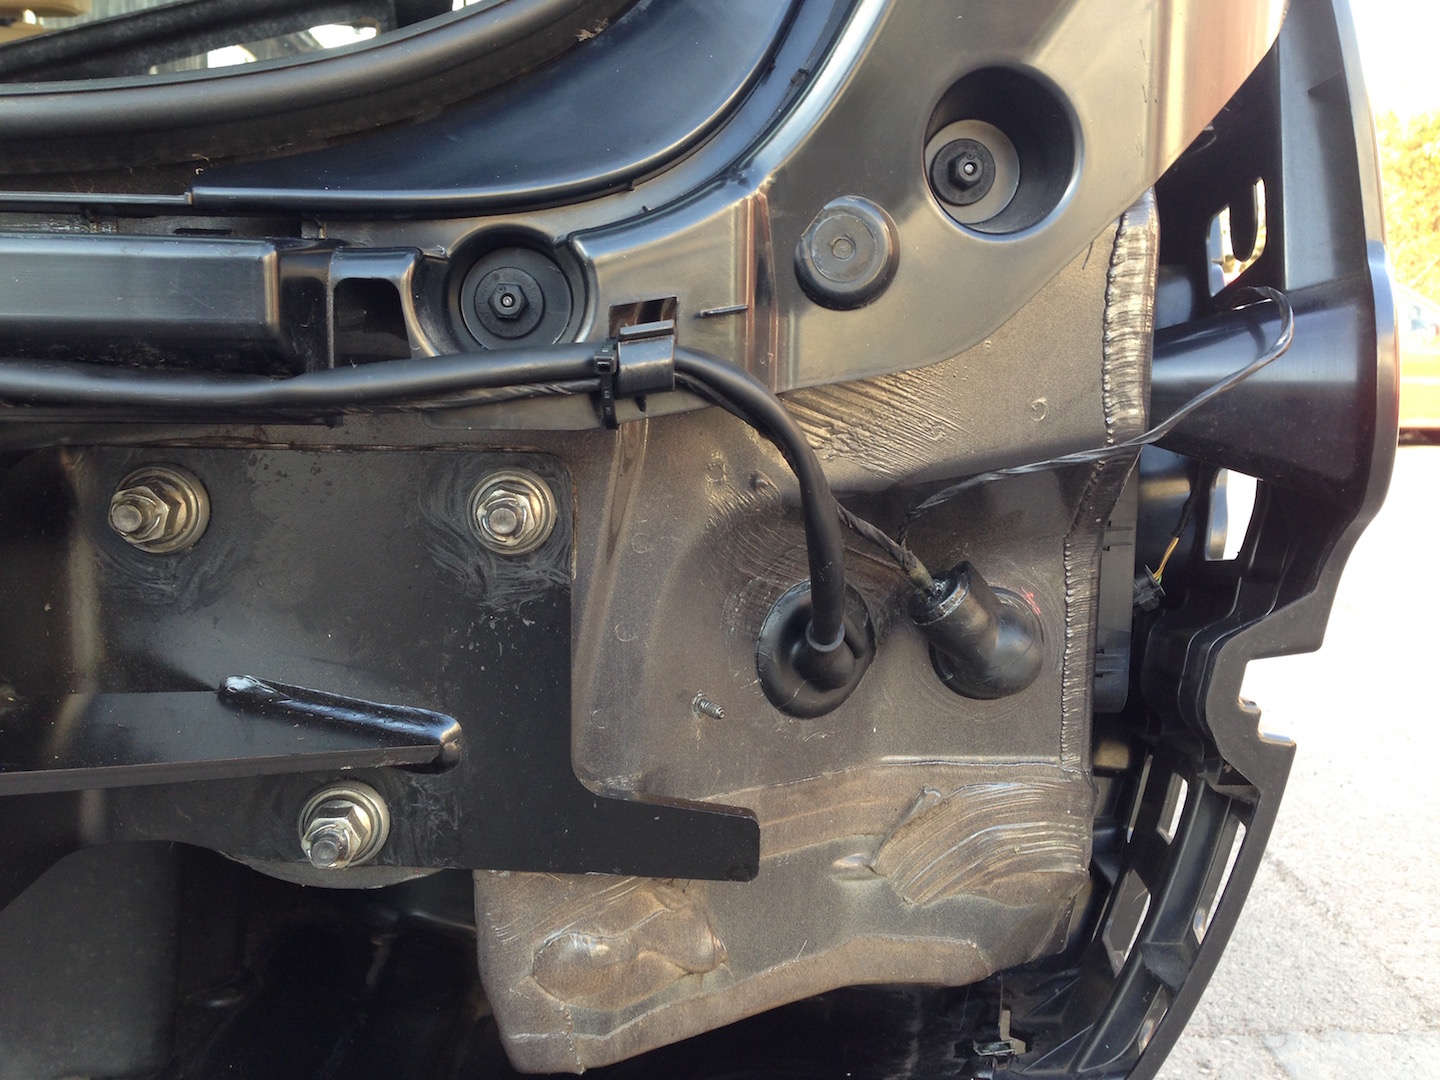
Close up of Right side. For the new wiring you will need to make a hole in the body just to the left of the current hole (only if you have reversing sensors fitted otherwise you can use the existing hole).
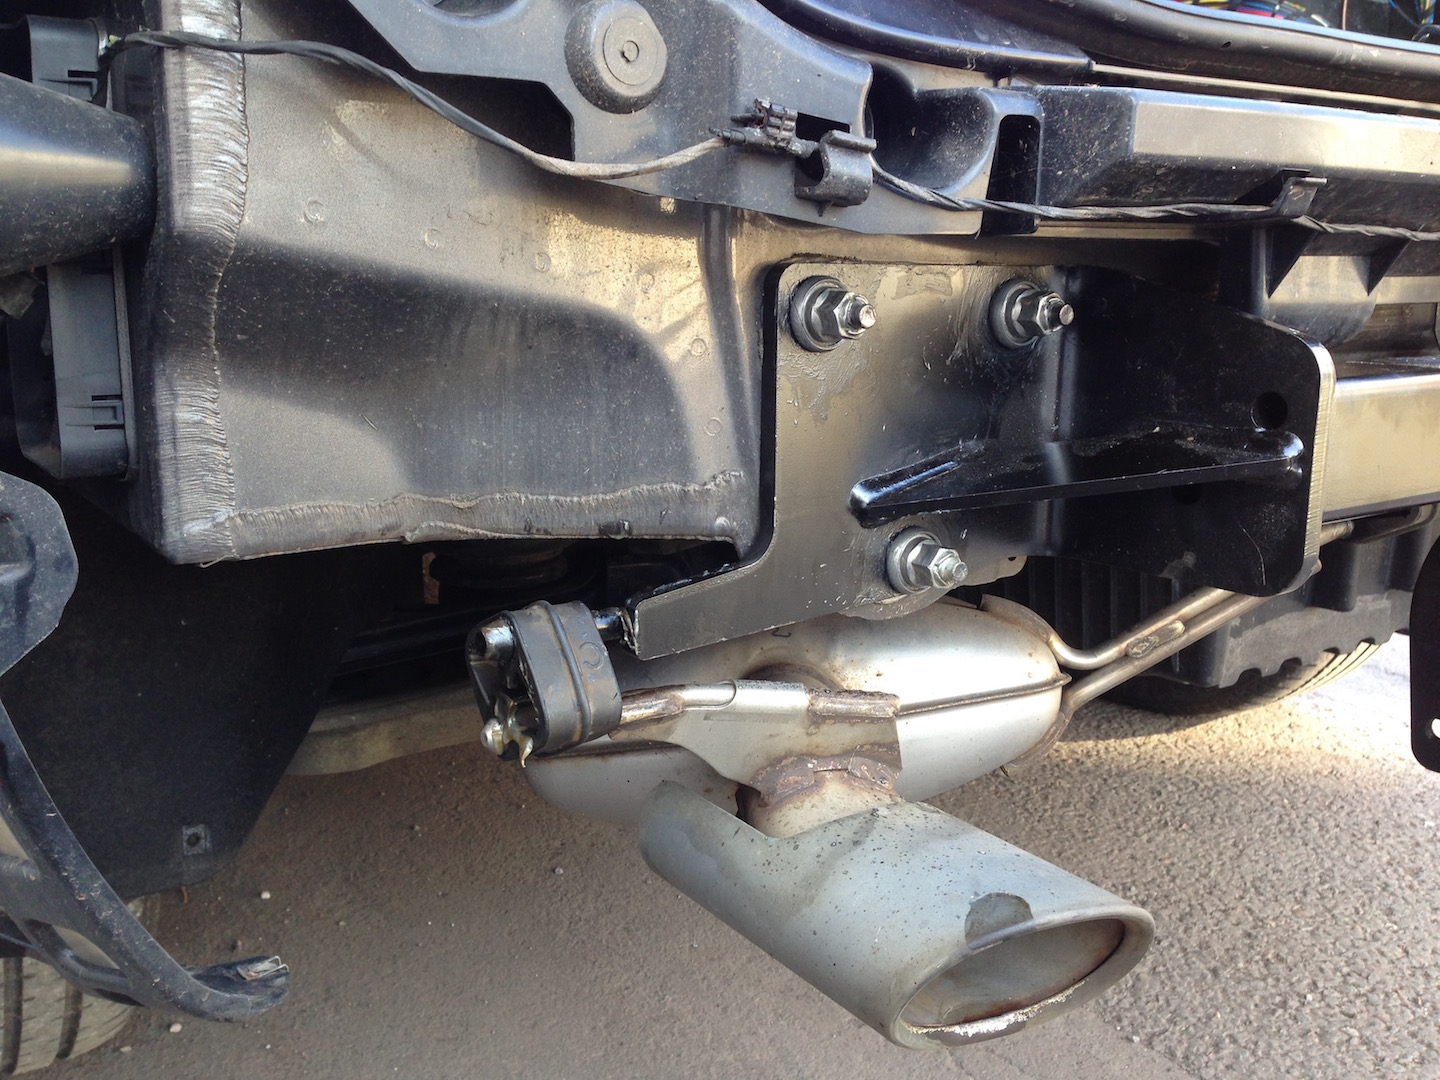
Close up of Left Side with Exhaust Rubber.
Tomorrow we will do the wiring and hopefully have it all back together !!
Electrics :-
First drill a 39mm hole in the rear panel for the wiring to pass through to the inside of the car !! - Hate drilling holes in my car !!!!!
Route the wiring from the socket and through the hole to the interior of the car.
Very happy I decided to go with the Westfalia dedicated wiring harness for the BMW as this was surprisingly easy to fit and attach to the car's existing Loom. It is really easy if you have the rear parking sensors fitted as the CAN BUS wiring is already at the back of the car.
If you have no rear parking sensors fitted then you have to run some wires forward to behind the dashboard which is ten times more time consuming !!
Finally a picture of the new Tow Bar all fitted and working. The only issue I had was inserting the BMW plastic rivets in the trim as they don't fit any of my Rivet Guns !!
