Some cars you are better off leaving the pros do it. To me, that includes most sedans with a steeply raked back, cars with electronics under the rear windshield, cars with very curved windows, etc. But our X1 looked doable to me so I tried it. Granted, I have some experience doing a couple of my other cars but I'm honest enough to say that they weren't the best jobs. Recently though, I've found some excellent youtube videos especially from PlatinumTinting that gave me confidence. Also, in Ohio, you are only allowed 50% tint in front which to me is not worth it--was only going to do the back and rear sides. Here are some comments from my experience:
Back windshield:
Not too curved and there is a lot of black edging limiting the actually area to be tinted, making it easier. Preshrunk it on the outside glass: I wet an "H" pattern and then proceeded to shrink the top and then bottom halves. When I got it close, I then wet the entire glass surface and squeegee'd out all air and shrunk all remaining fingers until the entire surface was perfect. Did final cut and then applied to inside. Pretty easy back windshield (which is usually the hardest part).
Rear quarter glass:
Pretty flat. Do final cut on outside and then apply it inside. I had no fingers at all since it is so flat.
Rear door side and quarter glass:
Decided to remove the panel which is the hardest part. The metal trim and the plastic door strip trim need to be popped out. Use a trim tool to get one end out and then manually pop the rest out by hand. There are 2 T20 torx screws underneath the upper trim and 3 under the lower trim that you will need to remove.
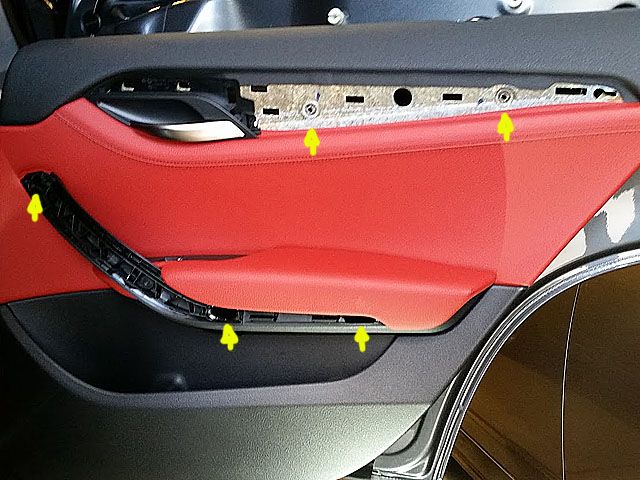
After that, use your trim tool to pop the door starting at the lower front corner and then pop the rest by hand. All the retainers face outwards.
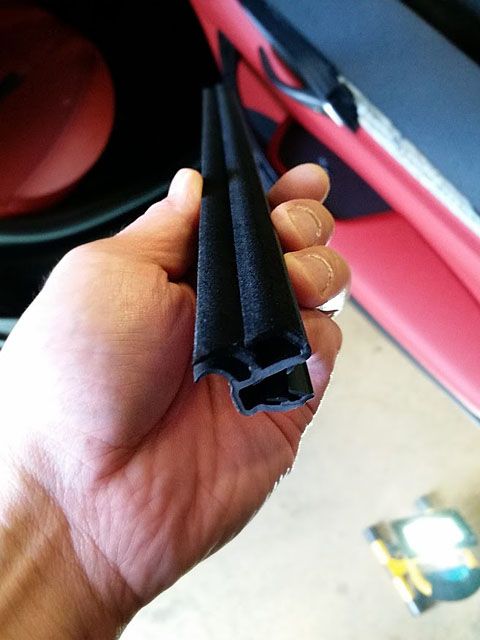
Next, remove the gaskets by lifting upwards. Gaskets are pictured below.
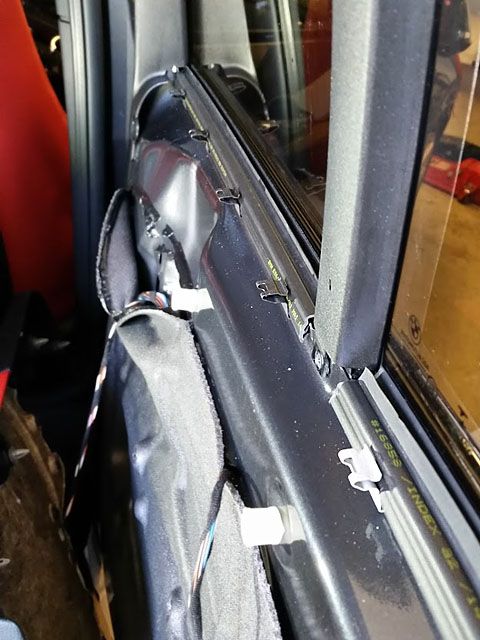
I asked in another thread if members had issues with scratched tint because of the gaskets. On other BMW, the lower gasket is hard plastic/rubber which scratches tint when dirt accumulates--some tinters rip the second gasket out or apply moleskin (felt). Not so with the the X1. Both upper and lower gaskets are felt lined as seen below:
The side and the side quarter are fairly easy once the bottom gasket is out. I am leaving out detail because I am assuming you have some tint experience and this is not a how2.
Bottom line: for DIY'ers, the X1 is a good car to do tint on. For the front panel removal, I am sure the technique is similar to the rear.
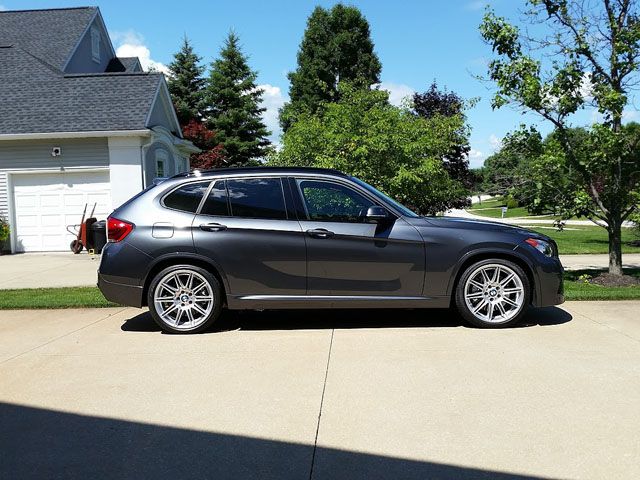
This is the finished product with 20% ceramic tint. Love it.